
Prismana are the rare variants in Aniimo, the equivalent of the colour-shifted creatures other games in the genre are known for. They do not turn up on luck alone: their appearance is tied to a regional gauge you can fill yourself, once you understand what actually raises it. The awkward part is that the game explains the system poorly, so the detail below comes from the guides published by the outlets that took it apart.
At a glance
A Prismana shows up when a zone’s Prismatic Energy gauge is full.
During a mass spawn, only captures raise that gauge.
The Prismana Crystal forces the trigger, three times a day at most.
What a Prismana is and why it has to be earned
Every region in the game has its own associated Prismana. It is a rare form of an existing Aniimo, recognisable on sight, and you will not stumble across one while wandering about. The guide published by jeuxvideo.com describes them as the game’s shinies, and the comparison holds on the principle of rarity.
The difference from a traditional shiny matters, though, because you are never waiting passively for a lucky encounter. You act on a regional gauge, and once it is full the appearance becomes a certainty.
Good news for a patient player, less so for anyone hoping to trip over one by accident: the system rewards routine above all.
Prismatic Energy, the gauge that governs everything
Each zone carries its own Prismatic Energy gauge, and the higher it climbs, the better your odds of triggering a special weather state called Prismana Flow. Once the energy reaches its full stage, the appearance of that zone’s Prismana is guaranteed.
To raise it, you go through what the game calls Ecosystem Intervention. You interact with the Leyline Branches or Flowers dotted around the map and spend Vein Energy on them. The offering sets off a mass spawn of creatures nearby, and that is the moment everything hangs on.
During a mass spawn, every capture moves the gauge
During a mass spawn, the instinct is to fight through the lot. That is a mistake if the Prismana is your goal. Gameblog’s Prismana tier list and guide is clear on the point: only captures raise a zone’s Prismatic Energy. ActuGaming goes further and advises against fighting the Aniimo at all during the wave.
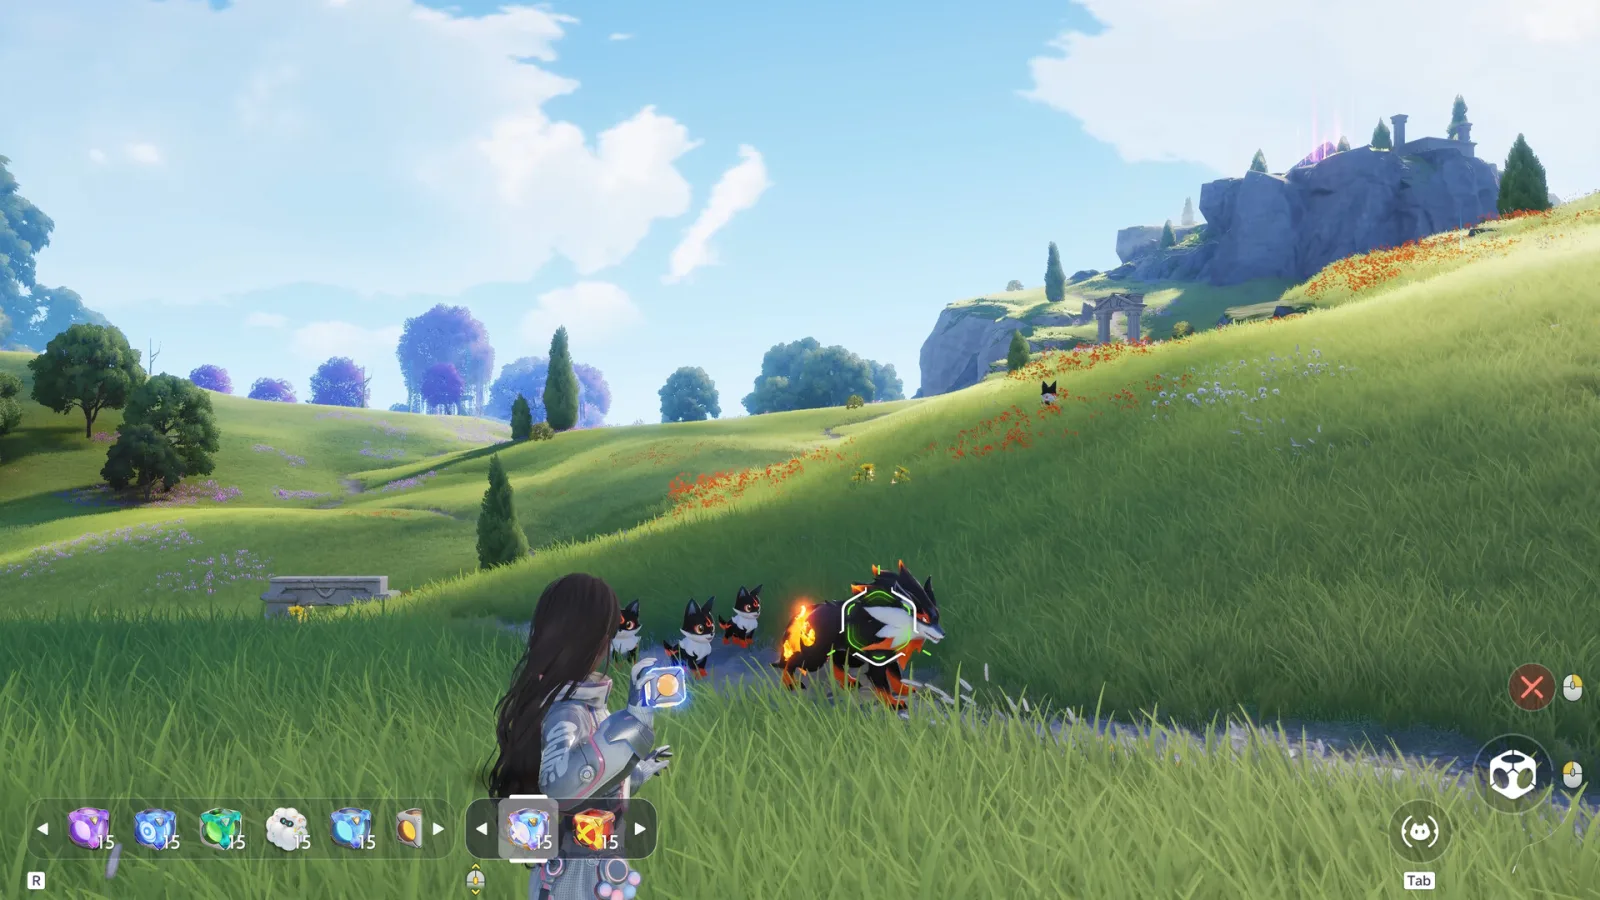
The clock is running, too, since the mass spawn lasts just three minutes according to ActuGaming’s guide to the weekly Prismana event. So get the Aniipods out straight away and catch everything, including creatures you have no intention of using on your team. The same guide recommends a throwable capture item sold by Joff for 200,000 credits, which bags Aniimo ten at a time with a guaranteed catch.
Once the batch is caught, head back to the Bloom and release the Prismatic Energy you have gathered, which is the step that lifts the zone’s level, again according to ActuGaming. Any capture can also land a lucky strike, which carries a 0.6% chance of setting off a Prismana Flow on the spot.
How many free attempts a day
Free enrichment is capped. According to Gameblog, you need the region’s bronze zone badge and then 30 Luminous Amber, after which you get three free enrichments per day, refreshed at 4am on your server’s clock.
The bronze badge usually comes once you have logged 40% of the region’s Aniimo, ActuGaming notes. Keep an eye on variants of creatures you already know, as not all of them are flagged as new and they are easy to miss.
The daily rhythm is the part to hold on to. Three offerings per day per account means a Prismana is built across several sessions.
The Prismana Crystal triggers the Flow straight away
There is a faster route once you hold the region’s silver badge, according to both ActuGaming and Gameblog. Offered to a Branch, the Prismana Crystal sets off a Prismana Flow on the region immediately, skipping the gradual fill entirely. According to jeuxvideo.com, it is capped at three uses per day, with a one-minute wait between crystals.
This route suits anyone chasing one particular zone’s Prismana in a hurry.
The guides disagree on how you come by it. Gameblog lists it among the paid options, while jeuxvideo.com describes it as a particularly rare item and says nothing about buying it. Either way, the cap of three a day is the same.
Where to actually start
Pick one region first and stay with it. Spreading offerings across several zones splits your progress, since each gauge runs separately and each region has its own associated creature.
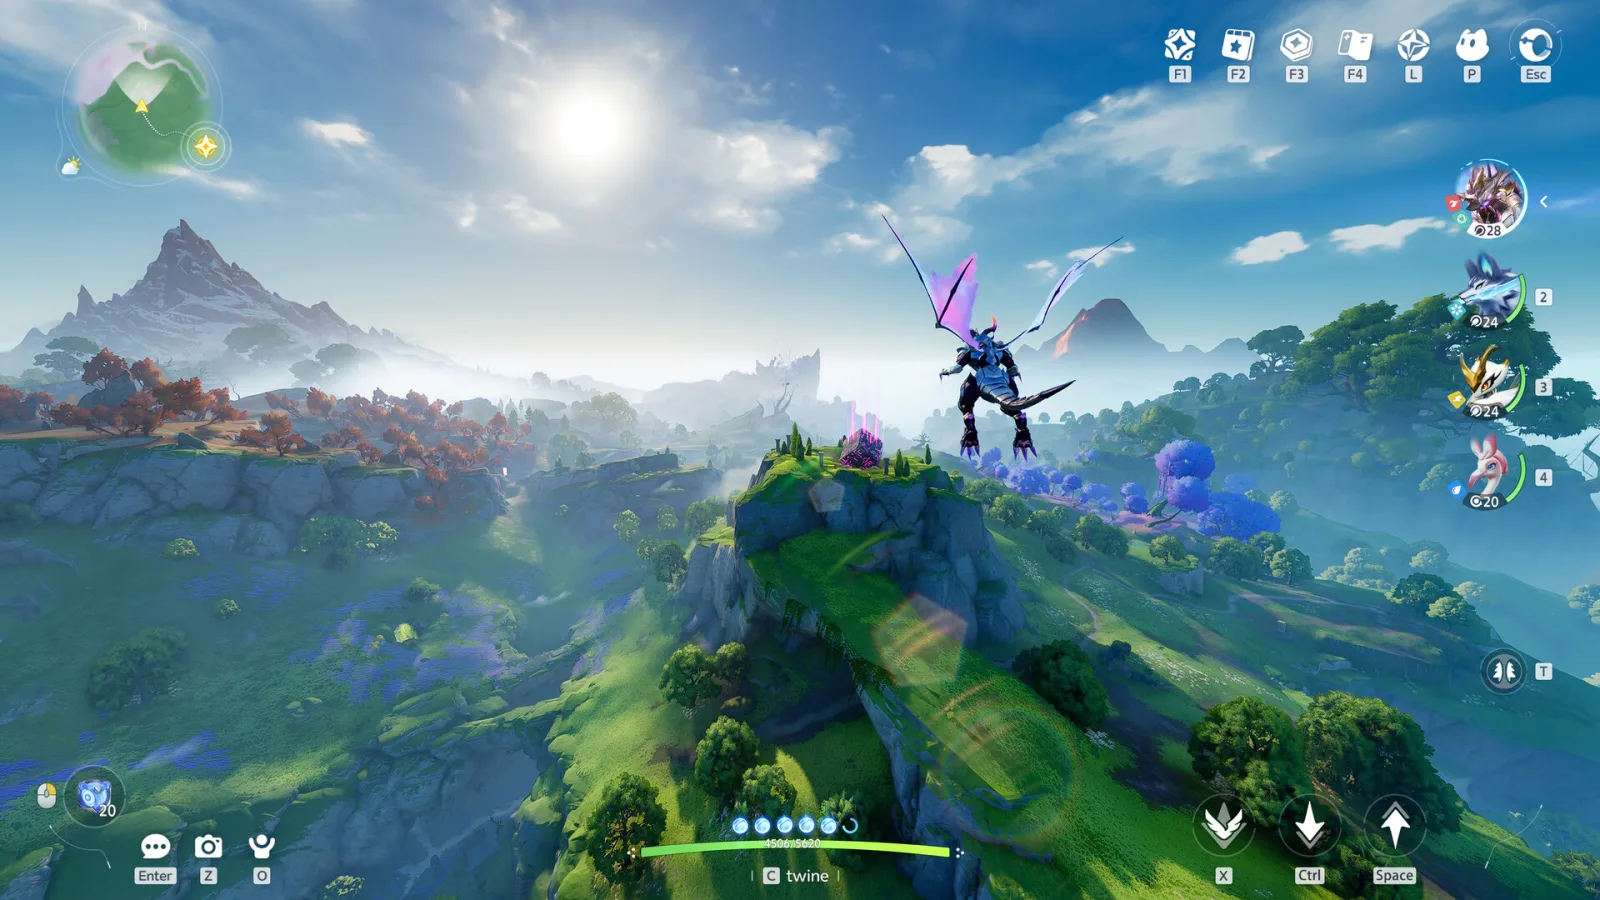
Then make all three daily offerings in the same place, with enough Aniipods on hand, and catch everything that turns up during the wave. The gauge climbs steadily from there, up to the stage where the appearance becomes certain.
Two habits are worth building early on. Count your Aniipods before every offering rather than during the wave, since a spawn carries on whether you are ready or not. And note the time your server resets, because an offering made just before the reset and another just after effectively give you six in one evening.
The game, which has passed 160,000 concurrent players on Steam, also launched on iOS and Android on 23 September with shared progress, so you can make the daily offerings from a phone without losing ground made on PC. For a mechanic built around turning up every day, that detail carries weight.
Upcoming dates, releases, DLC and major updates, are all in our calendar.